How to Balance a Centrifuge Correctly
Published March 3, 2026Balancing a centrifuge protects your samples, staff, and equipment. Poorly balanced loads create vibration, noise, and mechanical stress that turn routine runs into safety and quality problems. This guide provides a precise, repeatable process for clinical labs, veterinary practices, and regenerative medicine clinics.
TLDR Summary:
- Inspect rotor and tubes before every run for damage or debris
- Balance tubes by mass (not volume) within 0.1 grams for opposing pairs
- Place tubes symmetrically: each position needs an equal-mass partner directly opposite
- Monitor acceleration phase for unusual vibration or noise and stop immediately if detected
What do you need before balancing a centrifuge?
Before loading any rotor, verify you have:
- Centrifuge on a level, stable surface
- Appropriate rotor installed and locked in place
- Compatible tubes (same size, material, cap style)
- Balance tubes filled with water for odd-numbered runs
- Access to manufacturer instructions and your lab’s SOP
Missing any of these creates improvisation that leads to imbalance problems.
How do you balance a centrifuge step-by-step?
- Inspect the centrifuge and rotor
Check that the rotor is correctly installed, locked, and undamaged. For swing-out rotors, verify buckets pivot smoothly without sticking. Look inside the chamber for spilled samples, broken tube fragments, or fluid that could affect balance. Clean or service before proceeding if you find contamination.
- Prepare and match your tubes
Use identical tubes: same size, material, and cap type. Fill according to your protocol and verify paired tubes have similar fill heights with no trapped air bubbles. Make sure all caps are fully closed so fluid can’t escape during spinning.
- Plan the balance pattern
Decide tube placement before loading. For two tubes, place them directly opposite (180° apart). For four tubes, use a cross pattern at 90° intervals. For six or more, think in pairs: each occupied position needs an equal-mass partner directly opposite.
- Equalize tube mass, not just volume
For critical applications or mixed tube materials, weigh opposing tubes on a bench balance and adjust to match within 0.5 grams. For routine work with identical tubes and controlled volumes, visual matching is acceptable, but never pair glass with plastic or mix cap types in opposing positions.
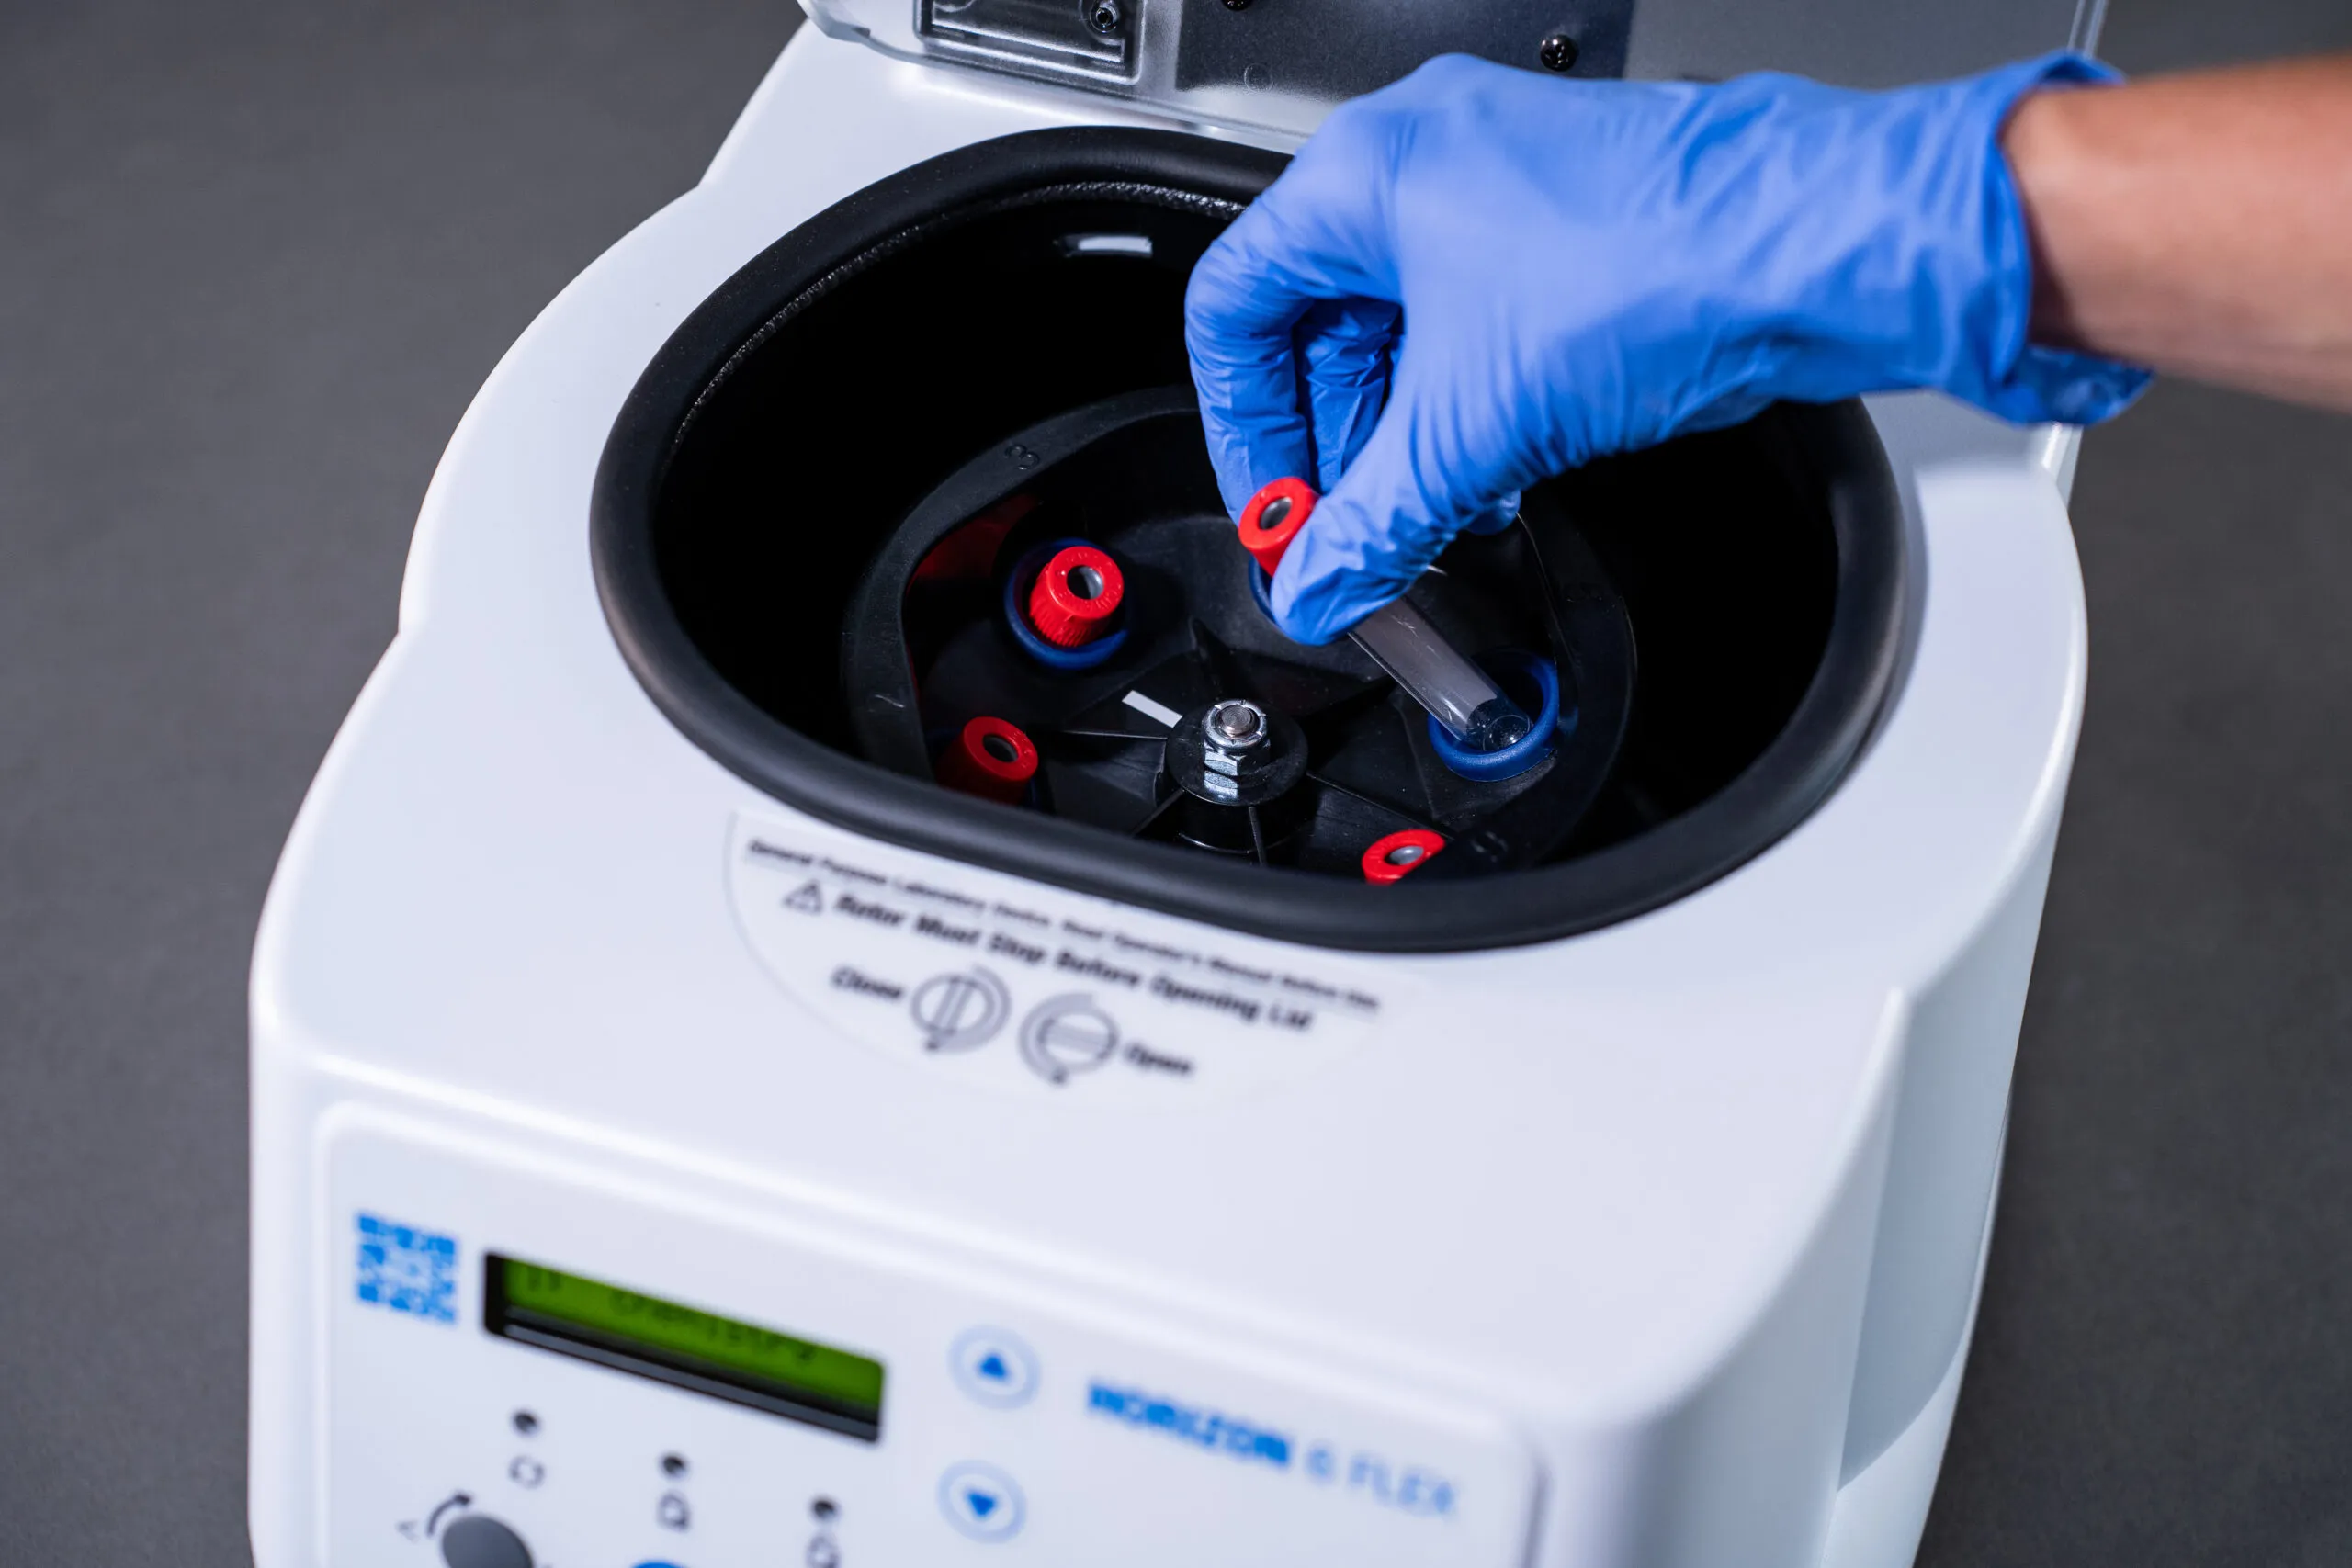
- Load tubes into the rotor
Place each tube in its planned position, supporting the bottom to avoid stressing thin walls. In swing-out rotors, make sure tubes sit fully and evenly in each bucket at the same depth. For fixed-angle rotors, confirm tubes are seated firmly and consistently without protruding at different heights.
- Perform manual rotation check
With the lid open and power off, gently rotate the loaded rotor by hand through a full circle. It should turn smoothly without scraping, catching, or wobbling. Close the lid securely and verify run parameters (time, RPM/RCF) match your protocol.
- Monitor acceleration phase
Start the run and stay nearby until the centrifuge reaches target speed and sounds stable. Listen for unusual noises and feel for excessive vibration. If you notice rattling, walking, or strong vibration, stop immediately, inspect tube positions, and correct the imbalance before restarting.
- Handle odd numbers with balance tubes
For odd sample numbers, create counterbalance tubes by filling identical containers with water or compatible fluid until the mass matches unpaired samples. Place balance tubes directly opposite unpaired samples. Keep pre-made balance tubes near your centrifuge for quick access.

How do swing-out and fixed-angle rotors differ for balancing?
Swing-out rotors: More sensitive to bucket symmetry. Keep bucket pairs identical in weight and contents, not just individual tubes. Each bucket must be balanced across its pivot axis so it reaches horizontal position at speed.
Fixed-angle rotors: Focus on tube mass and consistent seating depth. Mixing tube lengths or using different adapter designs in opposing positions creates imbalance.
What are the most common centrifuge balancing mistakes?
Balancing by volume instead of mass: Equal volumes of different density liquids have different masses. This is the mistake that catches even experienced lab staff.
Using damaged tubes: Cracked or deformed tubes fail under stress and alter load dynamics instantly.
Mismatched adapters: Forgetting an adapter or using different adapter types in opposing positions.
Skipping inspection: Not checking for tube damage, loose caps, or rotor debris before loading.
Loading under time pressure: Rushing through steps when busy leads to positioning errors.
How do you troubleshoot persistent vibration or noise?
Signs of wear from past imbalance:
- Persistent vibration with correctly loaded runs
- New rattling sounds at specific speeds
- Rotor feels rough when rotated gently by hand
Immediate actions:
- Stop the run and remove instrument from service
- Document serial number, rotor model, and symptoms
- Tag equipment with “Do Not Use” signage
- Contact maintenance or biomedical engineering
Never repeatedly use equipment showing these symptoms. It may no longer be safe at rated speeds.
How should different lab settings approach balancing?
Clinical labs
Standardize on a small set of tube types and color-coded adapters for quick recognition. Post rotor diagrams showing approved tube combinations near each instrument. Written procedures visible at the workstation help rotating staff load correctly under time pressure.
Veterinary practices
Use simple visual patterns like “always load tubes in opposite pairs and form a cross when you have four.” Post laminated balance diagrams beside the centrifuge. Brief hands-on demonstrations during onboarding help more than long written instructions. Keep clearly labeled balance tubes prefilled with water for odd-numbered runs.
Regenerative medicine clinics
Follow kit manufacturer loading diagrams exactly for PRP, BMAC, and similar protocols. Each tube represents high-value patient preparation. Keep dedicated balance procedures for these protocols separate from routine serum or plasma processing to prevent mix-ups.
What documentation should you maintain?
Keep a simple log recording:
- Rotor changes and new tube types introduced
- Unusual noise, vibration, or imbalance incidents
- Service calls and part replacements
- Staff training and competency assessments
This supports accreditation audits, identifies recurring issues, and gives maintenance teams context for safe equipment evaluation.
How often should staff be trained on centrifuge balancing?
Include hands-on balancing in initial onboarding, then reassess competency annually or when introducing new rotors, tube types, or protocols. Brief refreshers during staff meetings work better than pulling people off the bench for formal retraining sessions.
Should you set centrifuge speed by RPM or RCF?
Follow the unit specified in your validated protocol. Many clinical and research procedures specify RCF (relative centrifugal force, measured in x g) because it accounts for rotor radius differences. If your protocol lists only RPM, use the manufacturer’s conversion chart or built-in calculator.
Conversion formula: RCF = 1.118 × 10⁻⁵ × r × (RPM)² Where r = rotor radius in centimeters
Are there additional safety steps for biohazardous samples?
When working with infectious materials:
- Use sealed buckets or safety cups with intact gaskets
- Verify all lids are properly secured before starting
- Open carriers inside a biosafety cabinet when required by risk assessment
- Follow decontamination procedures if spills occur
- Wear appropriate PPE throughout
Proper balance remains critical, but containment and decontamination become equally important.
How do you validate new tube types or adapters safely?
Start with low-speed trial runs using matched pairs of new tubes or adapters in an otherwise empty rotor. Gradually increase speed while monitoring vibration. Once performance is stable at intended speed, document acceptable combinations and add to your SOPs and training materials.
What should you do after suspected rotor failure?
- Stop the run according to emergency procedure
- Keep the lid closed until all motion has ceased
- Remove instrument from service with clear signage
- Report the incident and document conditions
- Involve safety officer or biomedical engineering before unloading or reusing
Never attempt to restart or troubleshoot without proper authorization after a failure event.
Ready-to-use centrifuge systems like Drucker’s DASH, 600 Series, and HORIZON models come with pre-matched rotors and tube holders for common applications, reducing the compatibility decisions that lead to balancing errors. This approach supports safer operation in settings where staff rotate frequently.
Applying these balancing principles consistently protects equipment investment, keeps sample processing reliable, and maintains safe laboratory conditions across clinical, veterinary, and regenerative medicine applications.