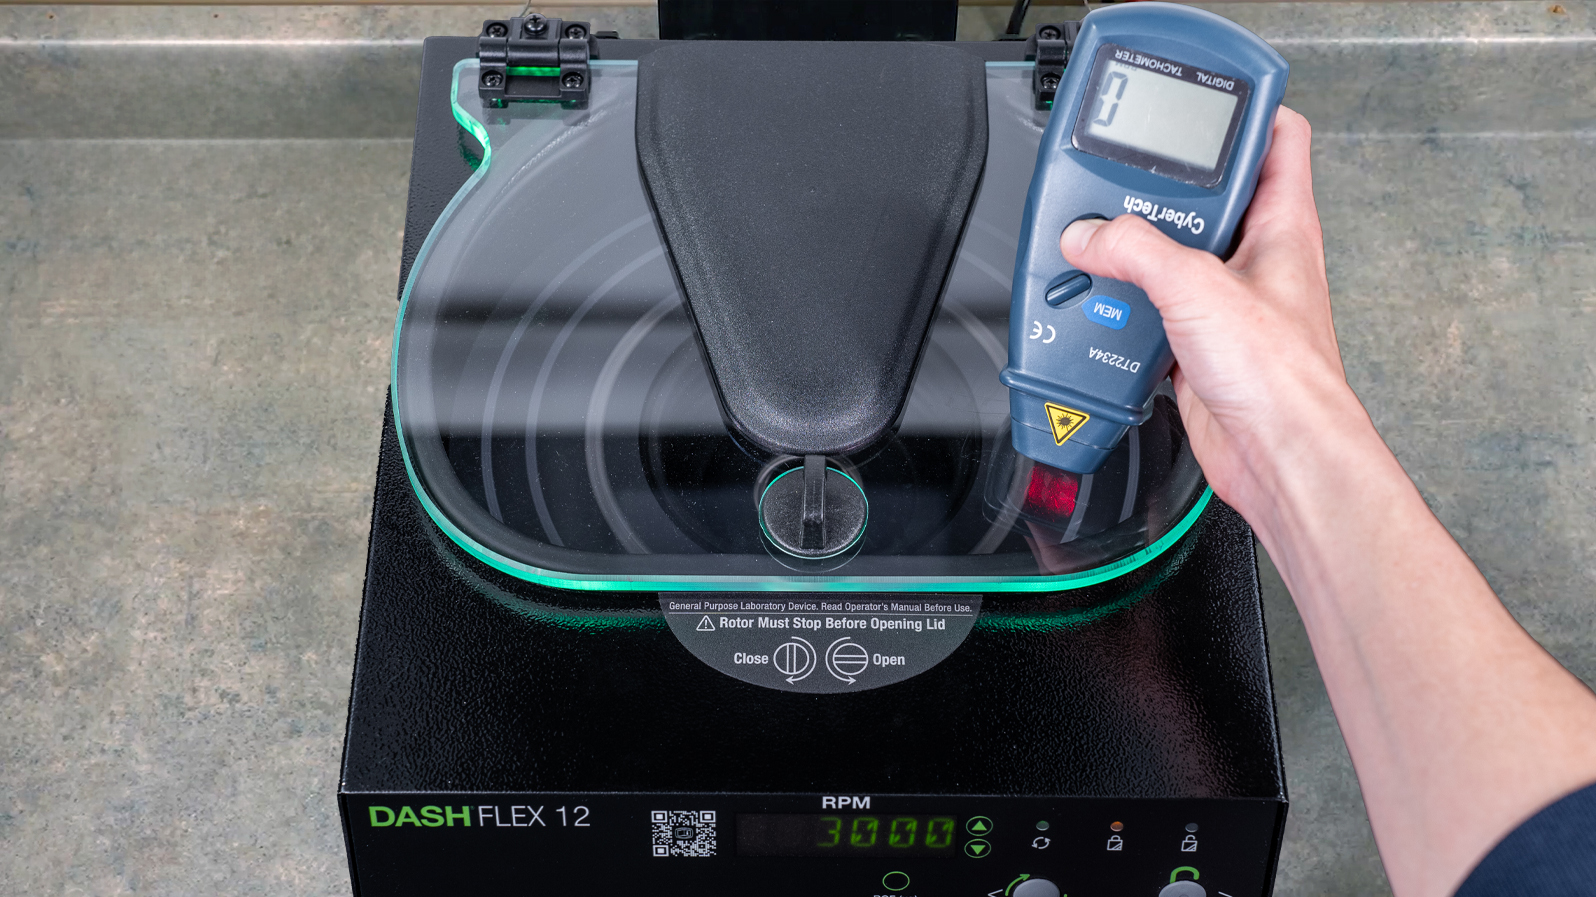
Learn how to check the calibration of your centrifuge
Regular calibration of your centrifuge is essential to maintaining its longevity and accuracy. It is recommended that the operating speed and electronic timer be checked for calibration every two years to guarantee reliable and consistent results.

How to Check Operating Speed


The operation speed should agree with the tachometer measurement within +/- 100 RPM. For example, for a preset run speed of 3,200 RPM, the centrifuge run speed should be between 3,100 RPM and 3,300 RPM.
How to Test the Electronic Timer


After reaching 90% of the set RPM, the timer should be within +/- 2% of the stopwatch time when finished. For example, for a preset run time of 15:00, the cycle duration should last between 14:42 and 15:18.
Is your centrifuge not calibrating correctly?
Let us take care of it for you! Simply send your centrifuge back to us, and our expert technicians will ensure it’s calibrated for optimal performance, saving you time and effort while guaranteeing accurate results in your lab.
Contact us at [email protected] or +1-866-265-1486 (US Toll-Free), or let us know how we can help by using the form below.
"*" indicates required fields
Designed, built, and supported in the USA
